In the first part of this series, we built a step functions workflow for a simple apartment booking scenario using the AWS Step functions low code visual editor.
In the second part of this series, we built the same workflow using CDK as IaC, Appsync and python, while invoking the step functions execution from a Lambda function.
In the third part of this series, we built the same workflow using SAM as IaC, Appsync and python, while invoking the step functions execution from a Lambda function.
In this post, we’ll be invoking the step functions workflow we created above from a mobile app built with amplify and flutter.
Preview

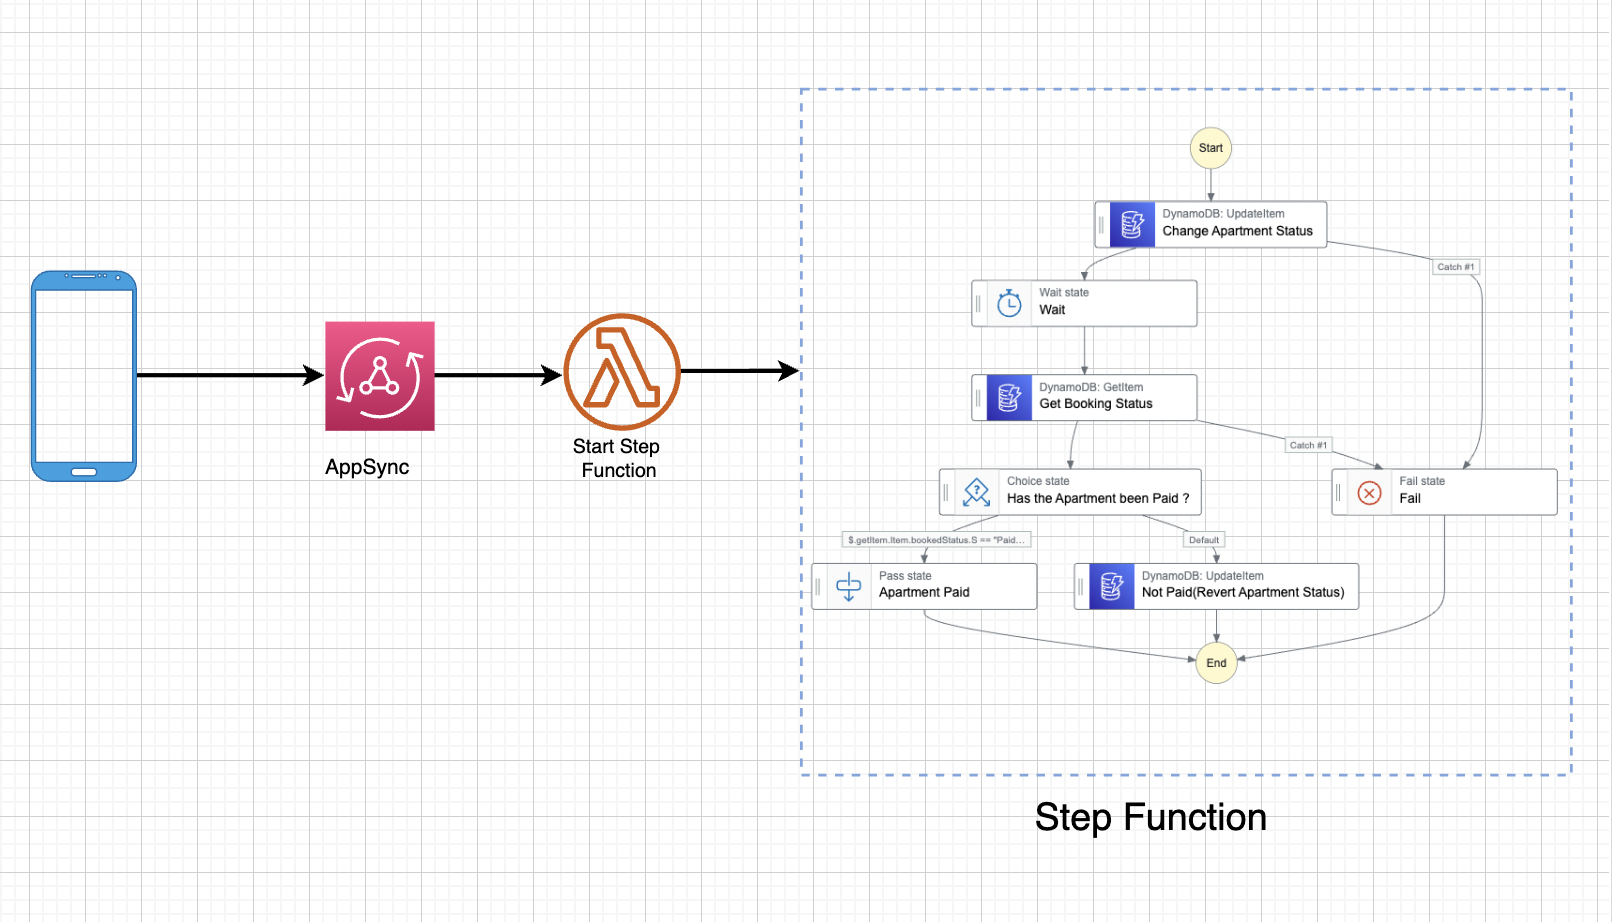
Solutions Architecture
Prerequisite
In-order to properly follow through successfully with this tutorial, you’ll need to have checked through these prerequisites:
- Installed and Running Amplify CLI
- Installed and Running Flutter Framework
- Successfully completed and deployed any of the applications in PART 2 Or Part 3
- Installed Android Studio or Vscode
NB
This isn’t a flutter tutorial, but rather a tutorial on invoking step functions from a flutter application. So I’ll assume you already know how to use Flutter. If you don’t, don’t worry. You can always start here
Setup FullStack Project
Create a new flutter application
flutter create amplified_todo
Add Amplify to your application
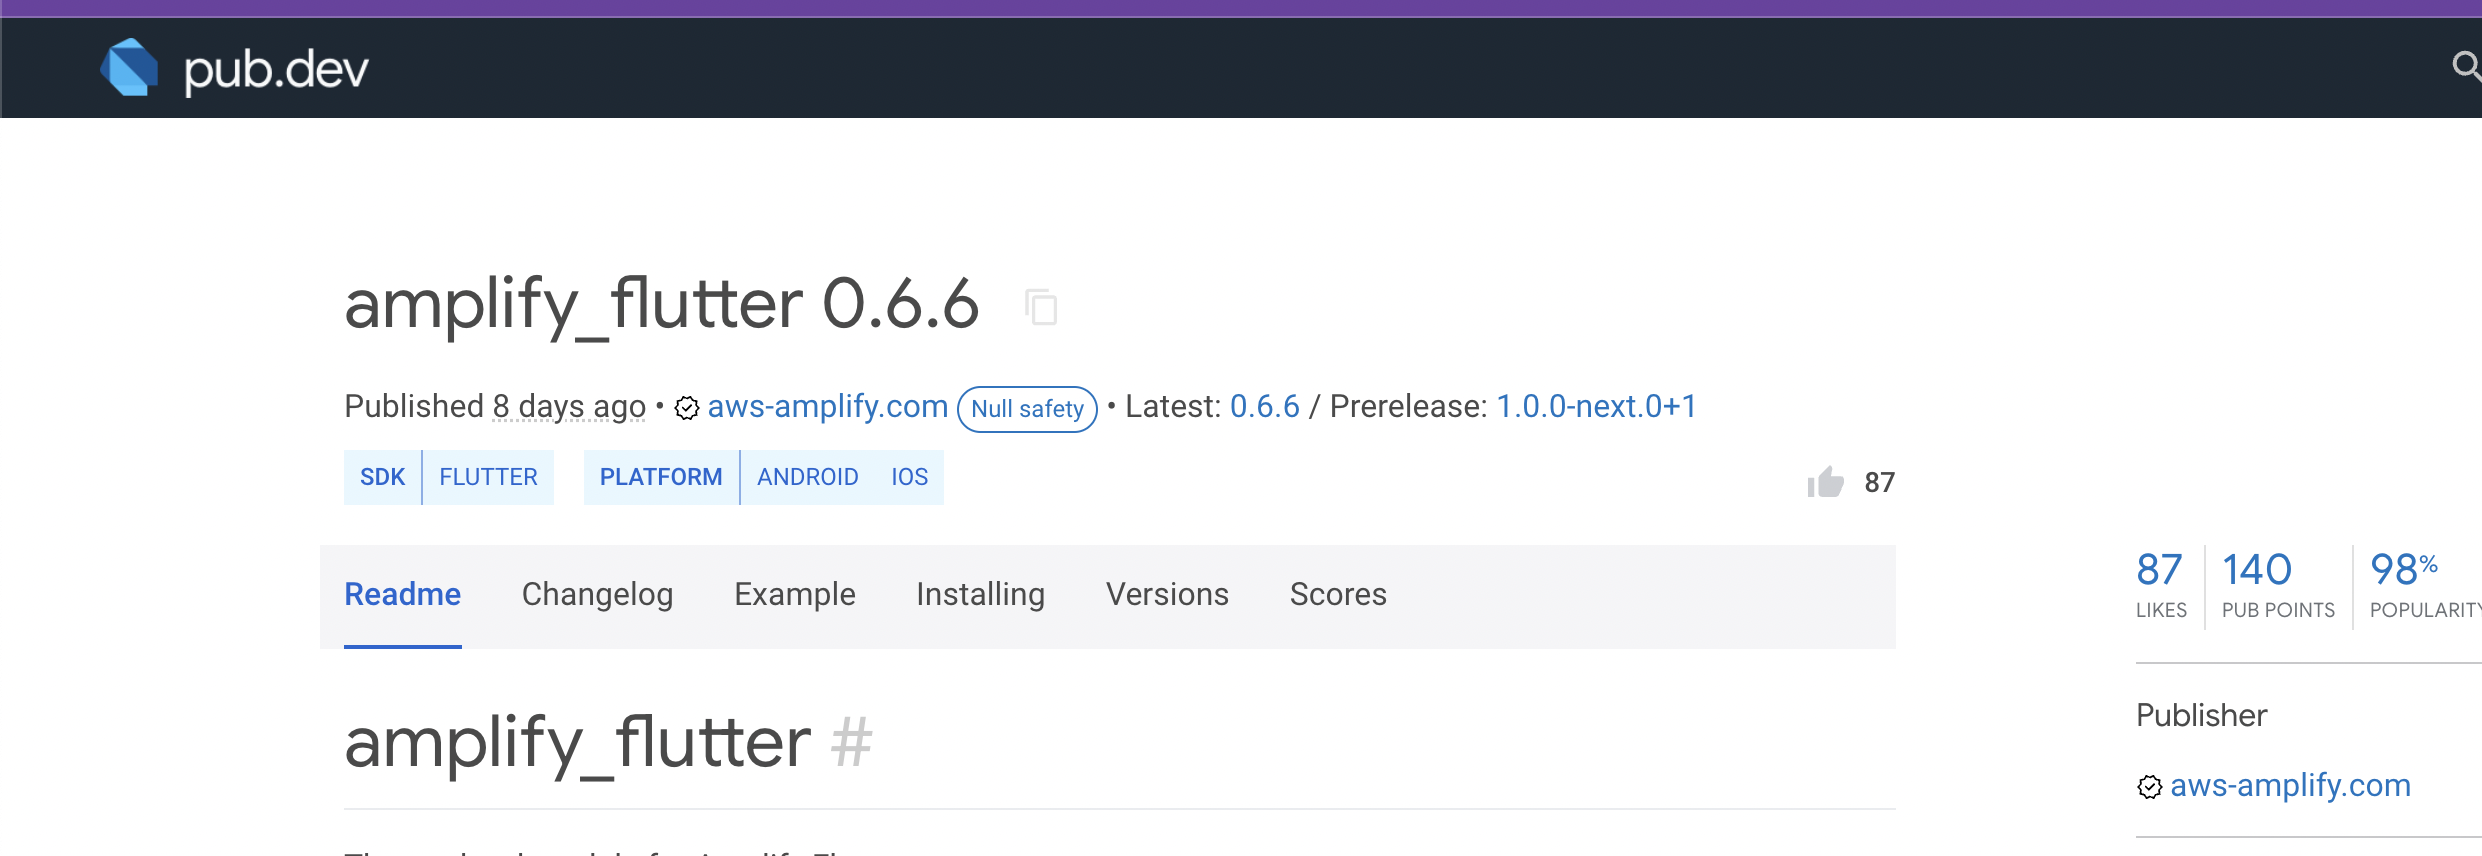
Go to pub.dev and search for amplify flutter and copy this package and version:
In your root directory, search for 'pubspec.yaml' file and add the amplify package to it.
amplify_flutter: ^0.6.6
Since we’ll be accessing the GraphQl API we created in PART 3 or PART 4 of this series, we also need to install the Amplify API library.
amplify_api: ^0.6.6
Therefore, my 'pubspec.yaml' dev_dependencies now has this structure:
dev_dependencies: flutter_test: sdk: flutter # The "flutter_lints" package below contains a set of recommended lints to # encourage good coding practices. The lint set provided by the package is # activated in the `analysis_options.yaml` file located at the root of your # package. See that file for information about deactivating specific lint # rules and activating additional ones. flutter_lints: ^2.0.0 amplify_flutter: ^0.6.0 amplify_api: ^0.6.0
Install the dependencies by running the following command. Depending on your development environment, you may perform this step via your IDE (or it may even be performed for you automatically).
Update Target Android SDK Version
From your project root, navigate to the 'android/app/' directory and modify build.gradle using a text editor of your choice and update the target Android SDK version to 21 or higher:
minSdkVersion 21
If you are using Flutter 2.10 or above, you must ensure that your app supports an up-to-date Kotlin version. This will typically be version 1.5.31 or higher.
You can do this by updating the Kotlin version in your app’s android/build.gradle file:
buildscript {
    ext.kotlin_version = '1.5.31'
    ...
}
Initialize Amplify
From the root of your application, run the command 'amplify init'
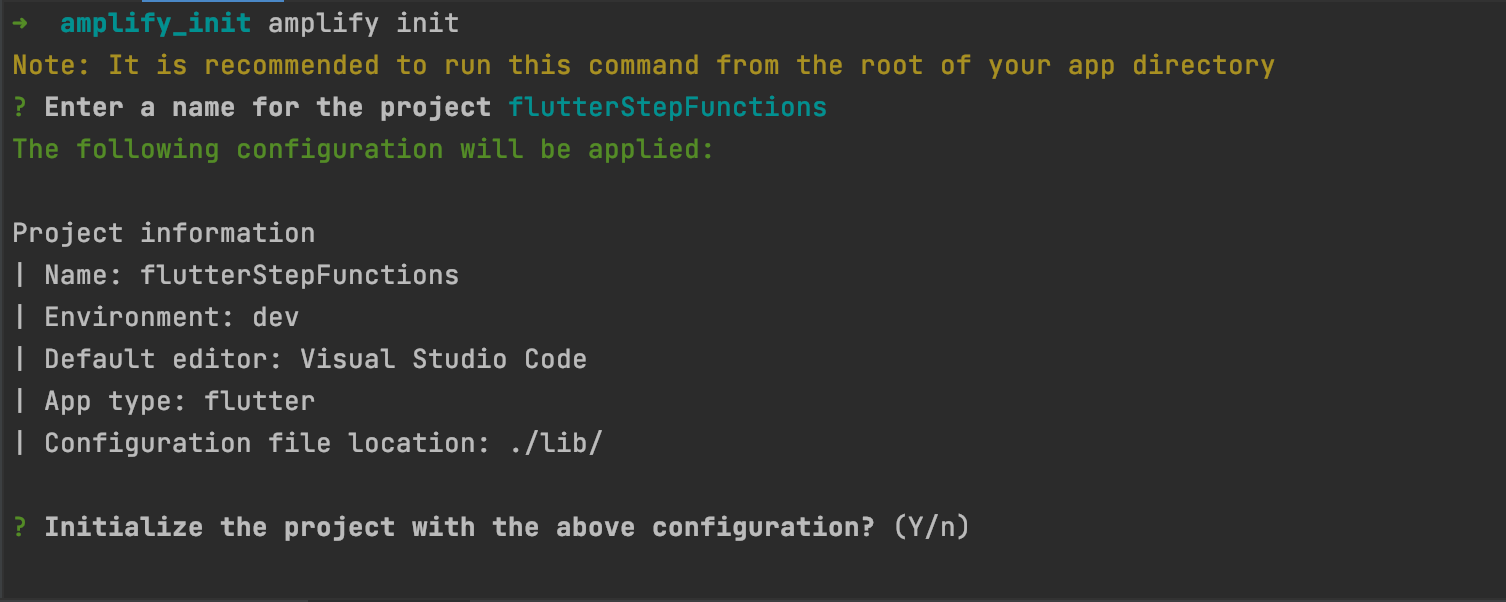
Give your project a name. When you installed and configured Amplify CLI, you created a profile. Please choose that profile when the CLI prompts you to choose an authentication method.

You should see a similar screen to the one below once you are done.
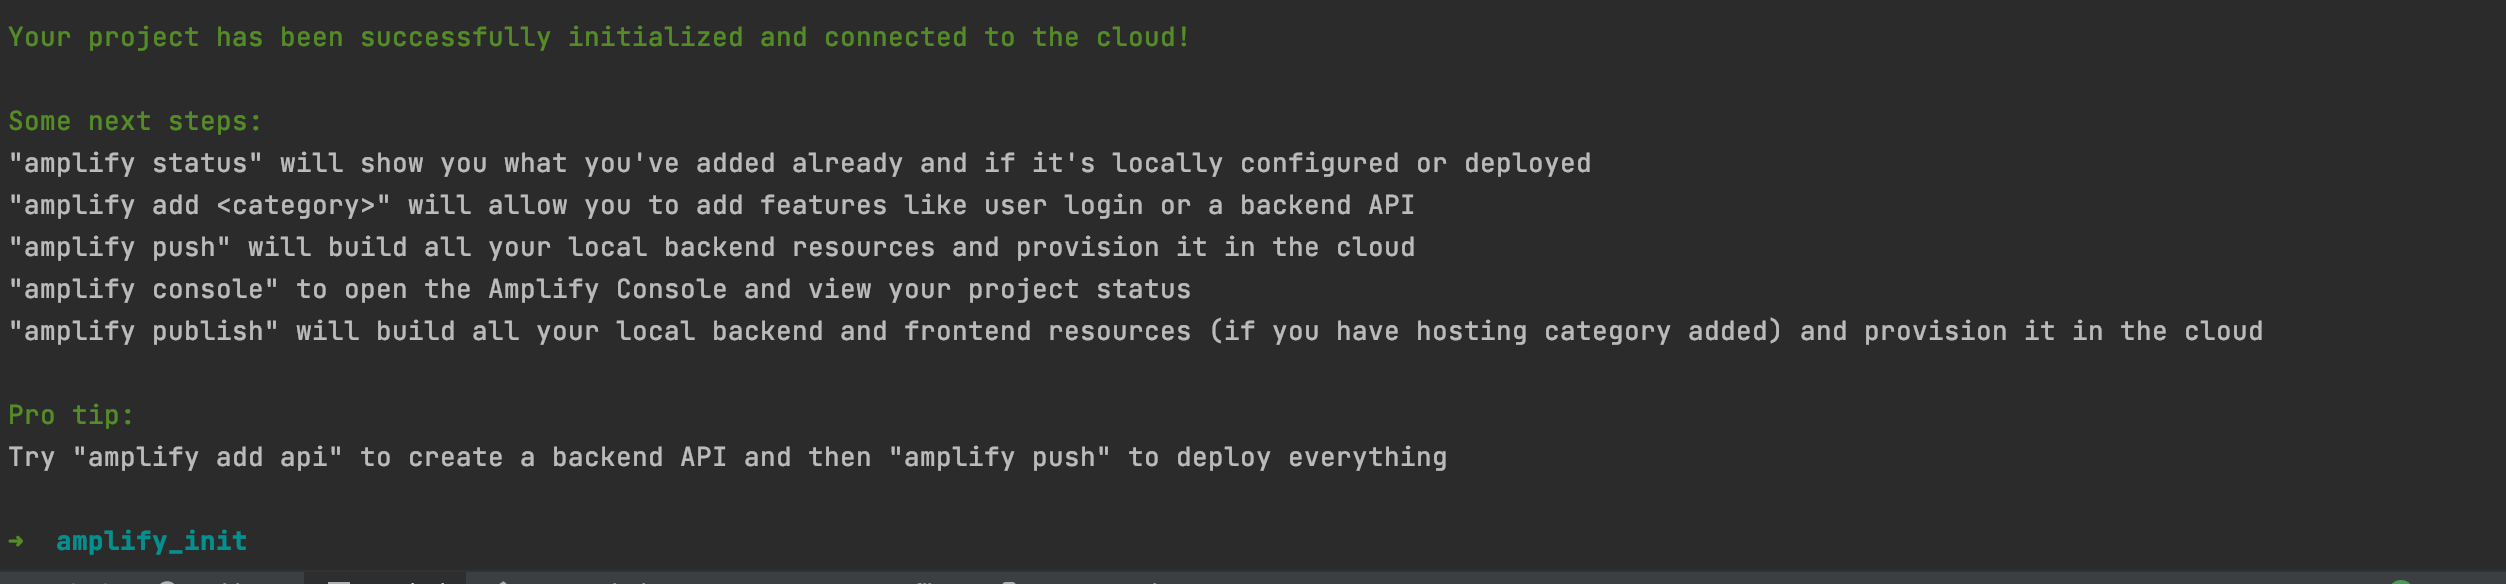
Amplify creates a file called 'amplifyconfiguration.dart' in the 'libs' folder.
We have to populate this config file with our backend configuration.
Get Amplify Config From AppSync
Open up AppSync on the AWS console and navigate to your project.

Download the configuration by clicking on the orange 'Download Config' button.
Now open up 'amplifyconfiguration.dart' and fill in the details like so:
const amplifyconfig = ''' {
    "UserAgent": "aws-amplify-cli/2.0",
    "Version": "1.0",
    "api": {
        "plugins": {
            "awsAPIPlugin": {
                "cdkMomoApi": {
                    "endpointType": "GraphQL",
                    "endpoint": "https://xxxxxxxxxxxxxxx.appsync-api.us-east-2.amazonaws.com/graphql",
                    "region": "us-east-2",
                    "authorizationType": "API_KEY",
                    "apiKey":"da2-5pn6oexoxxxxxxxxx"

                }
            }
        }
    }
}''';
Change the AppSync name from 'cdkMomoApi' to yours, alongside the rest of the details.
Updating main.dart
Open your 'main.dart' file and initialize Amplify and Amplify API.
import 'package:apartment_complex/welcome_screen.dart';
import 'package:flutter/foundation.dart';
import 'package:flutter/material.dart';
// Amplify Flutter Packages
import 'package:amplify_flutter/amplify_flutter.dart';
import 'package:amplify_api/amplify_api.dart';

// Generated in previous step
import 'amplifyconfiguration.dart';
void main() {
  runApp(const MyApp());
}

class MyApp extends StatefulWidget {
  const MyApp({Key? key}) : super(key: key);

  @override
  State<MyApp> createState() => _MyAppState();
}

class _MyAppState extends State<MyApp> {


  Future<void> _configureAmplify() async {

    // Add any Amplify plugins you want to use
    final authPlugin =  AmplifyAPI();
    await Amplify.addPlugin(authPlugin);

    try {
      await Amplify.configure(amplifyconfig);
    } on AmplifyAlreadyConfiguredException {
      if (kDebugMode) {
        print("Tried to reconfigure Amplify; this can occur when your app restarts on Android.");
      }
    }
  }
@override
  void initState() {
    // TODO: implement initState
    super.initState();
    _configureAmplify();
  }
  // This widget is the root of your application.
  @override
  Widget build(BuildContext context) {
    return MaterialApp(
      title: 'Apartments',
      theme: ThemeData(

        primarySwatch: Colors.blue,
      ),
      home: const WelcomeScreen(),
    );
  }
}
GraphQL Mutation
Remember our GraphQL mutation expects an ID, and the Step Functions ARN. Here’s how to create a GraphQL mutation in Flutter with Amplify.
Future<void> startStepFunctions(String id, String arn) async {
    try{
      String graphqlDoc =
          '''
          mutation add(\$id:ID!
                        \$arn:String!) {
  addStepFunction(input: {id: \$id, arn: \$arn}) {
    id
    arn
  }
}

          ''';

      var operation = Amplify.API.mutate(
          request: GraphQLRequest<String>(
            document: graphqlDoc,
            apiName: "cdkMomoApi",
            variables: {
              "id":id,
              "arn":arn
            }

      ));
          var response = await operation.response;

          var data = response.data;

      if (kDebugMode) {
        print('Mutation result is$data');
        print('Mutation error: ${response.errors}');
      }


    }catch(ex){
      if (kDebugMode) {
        print(ex.toString());
      }
    }
  }
Please grab the complete code and try it out.
Conclusion
In this series, we looked at how to create and invoke a step functions workflow through:
- The AWS Console
- Using CDK for Infrastructure as Code
- Using SAM for Infrastructure as Code
- Using Amplify and flutter
Hope you enjoyed it. I’ll love to know your thoughts on this series and Step functions as a whole. Cheers!!


%20(1).svg)

.svg)